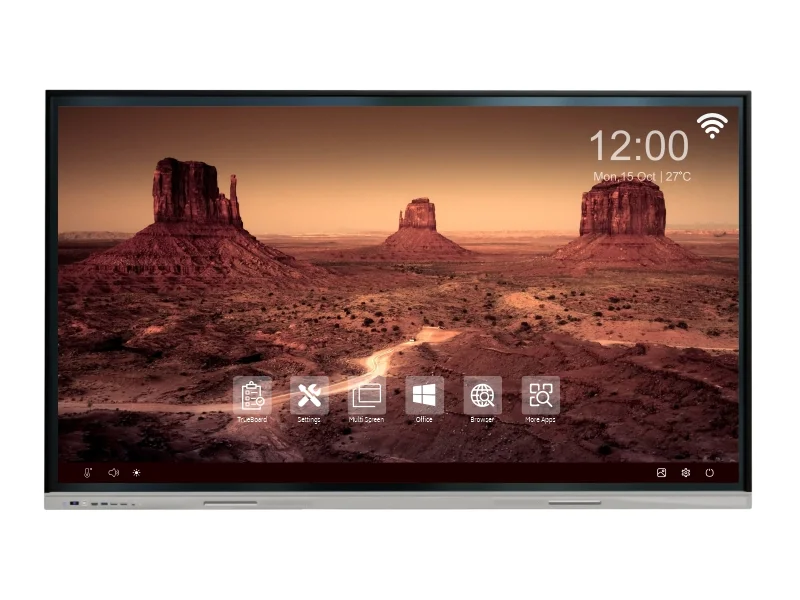
How to Plan and Install a Large LED Display: Checklist for Success
Thinking of installing a large LED display but unsure where to start? Many businesses struggle with where to begin, how much space they need, which specs to focus on, and how to choose the right supplier. A poorly planned LED display installation can result in visibility issues, maintenance headaches, and budget overruns.
That’s why we’ve created this simple, practical guide to help you make smart decisions from planning to final setup.
Step 1: Understand Your Display Purpose and Environment
Start by identifying the purpose behind your LED display installation.
Is it for outdoor advertising? In-store branding? Public information in a mall or airport?
Environment matters. Indoor and outdoor LED displays serve different purposes, hence they have varying requirements for brightness, structure, design, and, pixel pitch. Outdoor displays need weather-resistant hardware and higher brightness to compete with sunlight, while indoor displays can focus more on clarity at close range.
Step 2: Measure the Space to Choose the Right Screen Size
Get accurate measurements of your wall, structure, or frame where the LED display will be installed. Also, determine the optimal viewing distance. Pixel pitch—the space between individual LED lights—greatly affects how sharp and clear your display looks. A larger pixel pitch works best for long distances, while a smaller pitch is clearer up close.
Tip: Work with LED display suppliers in India who offer site surveys to help avoid sizing mistakes.
Step 3: Choose the Right LED Display Specs
Here’s what you should focus on:
- Pixel pitch,
- Brightness (measured in nits),
- Refresh rate (especially for video displays),
- Viewing angle,
- Durability (especially for outdoor installations).
Avoid getting sidetracked by features that don’t add real value to your setup. Stick to what serves your content best.
Step 4: Plan Power and Data Connections
A large LED display will need reliable power and stable data connectivity. This part often gets overlooked and causes trouble later.
Map out:
- Power sources (backup power if needed).
- Cable paths.
- Network setup for content updates.
If you’re unsure, speak with technicians who’ve handled complex LED display installations before. That small conversation can save you big money and downtime.
Step 5: Partner with reputable LED display suppliers in India
A trustworthy supplier does more than just sell you the screen. They guide you, help with design, provide hardware, and manage the entire installation. At Purplewave India, we offer complete support—from planning and procurement to mounting and post-installation service.
You’ll also want post-sale support, warranties, and access to spares. Make sure to ask about service turnaround time before finalising your supplier.
Step 6: Test, Calibrate, and Train
Once the display is mounted, test every module. Check for uniform brightness, colour accuracy, and content loading. Calibration matters more than you think.
It’s also important to train your team on how to manage and update the display content. A great LED display is only as good as what you show on it.
Final Thoughts
A successful LED display installation isn’t just about the screen—it’s about planning smart, avoiding surprises, and working with the right people. Whether it’s for retail, events, advertising, or education, your display should serve your purpose without fuss.
Need help choosing or installing your LED display? Reach out to Purplewave India—one of the most trusted LED display suppliers in India. We make sure your display works the way it should from day one.


